Sanding is one of the most fundamental skills in woodworking, yet it’s often overlooked or underestimated. Whether you’re building furniture, refinishing a table, or crafting a small wooden item, proper sanding is essential for achieving a smooth, professional-looking finish. In this blog post, we’ll cover the basics of sanding wood, including the tools you’ll need, the steps to follow, and tips to make the process easier and more effective.
Why is Sanding Important?
Sanding serves several key purposes in woodworking:
- Smoothing the Surface: Removes rough spots, splinters, and imperfections.
- Preparing for Finish: Creates a uniform surface that allows stains, paints, and finishes to adhere evenly.
- Enhancing Appearance: Brings out the natural beauty of the wood by refining its texture and grain.
Skipping or rushing through sanding can lead to uneven finishes, visible scratches, and a less professional result. So, let’s dive into the basics!
Tools and Materials for Sanding Wood
Before you start sanding, gather the right tools and materials:
- Sandpaper: Available in various grits (coarse to fine). Common grits include:
- Coarse (40–80 grit): For heavy material removal and leveling.
- Medium (100–150 grit): For general smoothing.
- Fine (180–220 grit): For final smoothing and preparing for finish.
- Very Fine (240+ grit): For ultra-smooth surfaces or between finish coats.
- Sanding Blocks: These help you apply even pressure and prevent uneven surfaces. Foam blocks are great for flat surfaces, while contoured blocks work for curved areas.
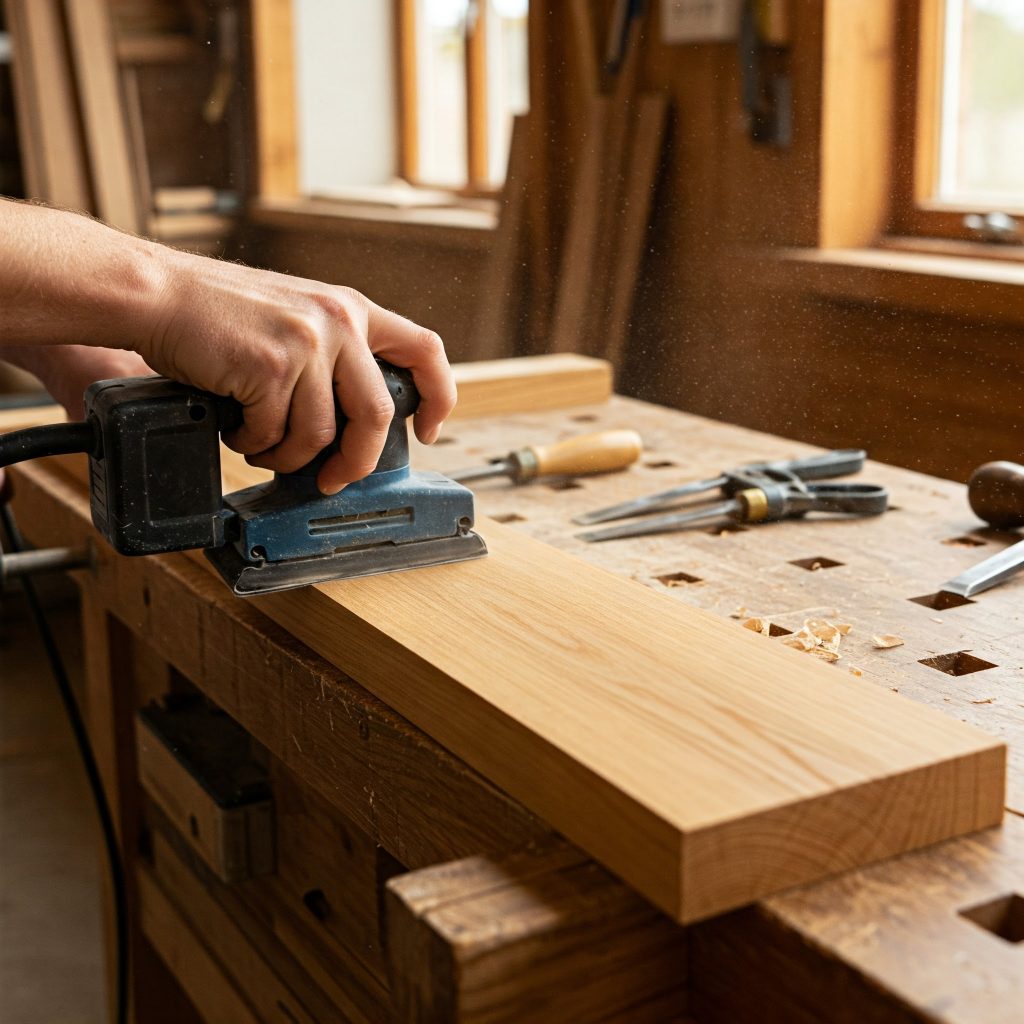
- Power Sanders: For larger projects or faster results, consider using:
- Orbital Sander: Ideal for flat surfaces.
- Belt Sander: For heavy material removal.
- Detail Sander: For tight corners and intricate areas.
- Dust Mask or Respirator: Sanding creates fine dust that can be harmful to breathe. Always wear protective gear.
- Tack Cloth or Microfiber Cloth: For removing dust after sanding.
The Sanding Process: Step by Step
Follow these steps to sand wood effectively:
1. Prepare the Wood
- Inspect the wood for nails, screws, or other hardware. Remove or countersink them to avoid damaging your sandpaper or tools.
- Clean the surface to remove dirt, grease, or old finish that could clog the sandpaper.
2. Start with Coarse Grit
- Begin with a coarse grit (40–80) to remove major imperfections, such as rough spots, old finish, or deep scratches.
- Sand in the direction of the grain to avoid creating cross-grain scratches that are difficult to remove later.
- Use even pressure and avoid staying in one spot for too long, which can create uneven surfaces.
3. Progress to Medium Grit
- Switch to a medium grit (100–150) to smooth out the scratches left by the coarse grit.
- Continue sanding with the grain, using long, even strokes.
- Check the surface frequently to ensure you’re achieving a consistent smoothness.
4. Finish with Fine Grit
- Use a fine grit (180–220) for the final sanding. This step prepares the wood for staining, painting, or finishing.
- Sand lightly to avoid removing too much material. The goal is to create a smooth, even surface.
5. Remove Dust
- After sanding, wipe the surface with a tack cloth or microfiber cloth to remove all dust. This step is crucial for ensuring a clean surface for finishing.
6. Optional: Sand Between Finish Coats
- If you’re applying a finish (like polyurethane or paint), lightly sand between coats with very fine grit sandpaper (240+). This helps the next coat adhere better and creates a smoother final finish.
Tips for Effective Sanding
- Always Sand with the Grain: Sanding against the grain can create scratches that are difficult to remove and may show through the finish.
- Use a Sanding Block: For flat surfaces, a sanding block ensures even pressure and prevents uneven spots.
- Change Sandpaper Frequently: Worn-out sandpaper is less effective and can create more work. Replace it as needed.
- Avoid Over-Sanding: Sand just enough to achieve a smooth surface. Over-sanding can remove too much material and weaken the wood.
- Work in a Well-Ventilated Area: Sanding creates a lot of dust, so work in a space with good airflow or use a dust collection system.
- Check Your Progress: Run your hand over the surface to feel for rough spots or imperfections.
Common Sanding Mistakes to Avoid
- Skipping Grits: Jumping from coarse to fine grit without using medium grit can leave deep scratches that are hard to remove.
- Sanding Against the Grain: This creates visible scratches that can ruin the appearance of the wood.
- Using Too Much Pressure: Let the sandpaper do the work. Applying too much pressure can create uneven surfaces or gouges.
- Neglecting Dust Removal: Dust left on the surface can interfere with staining or finishing, leading to a bumpy or uneven result.
Sanding Different Types of Wood
- Softwoods (Pine, Cedar): Sand gently to avoid gouging the surface. Start with a finer grit (100) if the wood is already relatively smooth.
- Hardwoods (Oak, Maple): Hardwoods can handle more aggressive sanding. Start with a coarser grit (80) if the surface is rough.
- Plywood or MDF: Be cautious with power sanders, as these materials have thin veneers that can be easily sanded through.
Final Thoughts
Sanding may seem like a tedious task, but it’s a crucial step in achieving a professional-quality finish for your woodworking projects. By understanding the basics—choosing the right grits, sanding with the grain, and progressing from coarse to fine—you can transform rough, uneven wood into a smooth, beautiful surface ready for staining, painting, or finishing.
With practice and patience, sanding will become second nature, and you’ll appreciate the difference it makes in the final appearance and durability of your work. Happy sanding!

Leave a Reply