A hardwood cutting board is a kitchen essential that can last for years with proper care. Here’s how to build one that stands the test of time.
1. Choose the Right Hardwood
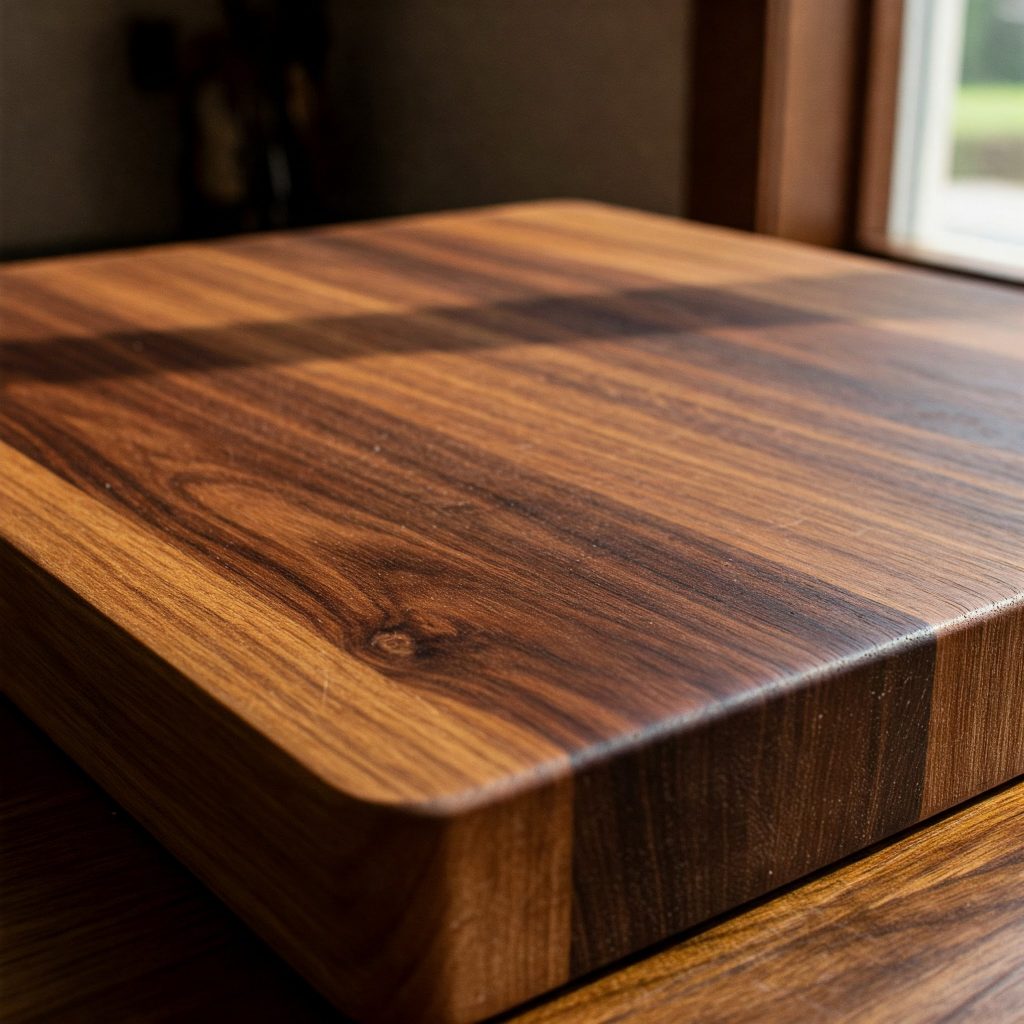
Select hardwoods that are durable and food-safe, like maple, walnut, or cherry. Avoid woods with open grains, like oak, which can harbor bacteria.
2. Cut and Glue the Boards
Cut the wood into strips of equal width and arrange them in a pleasing pattern. Use food-safe wood glue to bond the strips together, clamping them tightly until the glue dries.
3. Sand the Surface
Sand the cutting board thoroughly, starting with coarse-grit sandpaper and working up to fine-grit. This ensures a smooth, even surface.
4. Apply a Food-Safe Finish
Use a food-safe finish, like mineral oil or beeswax, to protect the wood and enhance its natural beauty. Apply multiple coats, allowing each to dry before adding the next.
5. Maintain the Cutting Board
Regularly clean the cutting board with mild soap and water, and reapply the finish as needed to keep it in top condition.
By following these steps, you can create a durable, beautiful cutting board that will serve you well for years to come. It’s a practical and rewarding project for any woodworker.

Leave a Reply